

Cluster
Cluster
Details Of The Cluster
ABOUT EMBROIDERY CRAFT KANYAKUMARI ADOPTED CLUSTER
Kanyakumari Embroidery craft artisans adopted cluster is one of the skill-development programmes under the AHVY Scheme of the Ministry of Textiles and Handicraft, Government of India, is being executed in the Kanyakumari District. The main motto of this project is to provide various developments to artisans which include skill set advancement, upgradation of design development, Market interventions, and to promote technical and technological aspects for the stable sustainability and for the economy of scale. Also, the project aims to attain resurgence of the rural entrepreneurs as well as small scale industries and guarantees improvement.
Hand Embroidery Craft
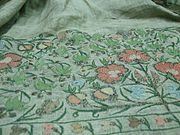
Embroidery is the craft of decorating fabric or other materials using a needle to apply thread or yarn. Embroidery may also incorporate other materials such as pearls, beads, quills, and sequins. In modern days, embroidery is usually seen on caps, hats, coats, overlays, blankets, dress shirts, denim, dresses, stockings, scarfs, and golf shirts. Embroidery is available in a wide variety of thread or yarn colour. It is often used to personalize gifts or clothing items. Embroidery can often being used to make traditional pieces for such cultures and allows clothes to be more authentic.
Some of the basic techniques or stitches of the earliest embroidery are chain stitch, buttonhole or blanket stitch, running stitch, satin stitch, and cross stitch. Those stitches remain the fundamental techniques of hand embroidery today.
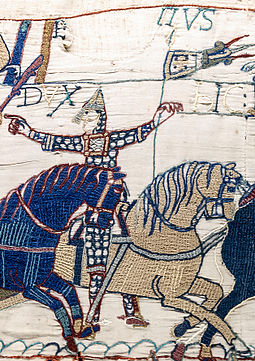
History
The process used to tailor, patch, mend and reinforce cloth fostered the development of sewing techniques, and the decorative possibilities of sewing led to the art of embroidery. Indeed, the remarkable stability of basic embroidery stitches has been noted.
It is a striking fact that in the development of embroidery. There are no changes of materials or techniques which can be felt or interpreted as advances from a primitive to a later, more refined stage. On the other hand, we often find in early works a technical accomplishment and high standard of craftsmanship rarely attained in later times.
Depending on time, location and materials available, embroidery could be the domain of a few experts or a widespread, popular technique. This flexibility led to a variety of works, from the royal to the mundane.
Materials
A needle is the main stitching tool in embroidery, and comes in various sizes and types. The fabrics and yarns used in traditional embroidery vary from place to place. Wool, linen, and silk have been in use for thousands of years for both fabric and yarn. Today, embroidery thread is manufactured in cotton, rayon, and novelty yarns as well as in traditional wool, linen, and silk. Ribbon embroidery uses narrow ribbon in silk or silk/organza blend ribbon, most commonly to create floral motifs.
Surface embroidery techniques such as chain stitch and couching or laid-work are the most economical of expensive yarns, couching is generally used for gold work. Canvas work techniques, in which large amounts of yarn are buried on the back of the work, use more materials but provide a sturdier and more substantial finished textile.
In both canvas work and surface embroidery an embroidery hoop or frame can be used to stretch the material and ensure even stitching tension that prevents pattern distortion. Modern canvas work tends to follow symmetrical counted stitching patterns with designs emerging from the repetition of one or just a few similar stitches in a variety of hues. In contrast, many forms of surface embroidery make use of a wide range of stitching patterns in a single piece of work.
Process
Step 1: Set-Up: Fabric, Thread, and Supplies
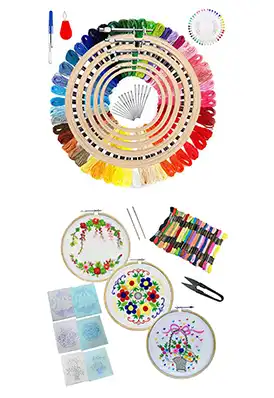
You only need a few things to do embroidery, but you do need all of them. Here they are:
- Embroidery hoop (preferably more than one, of different sizes) – these are cheap and easy to find and they are completely essential. When using the hoop, stretch the fabric taut, and pull the edges so that the weave is straight in both directions
- Embroidery needles – these are larger than regular sewing needles, with an eye big enough to accommodate the larger thread.
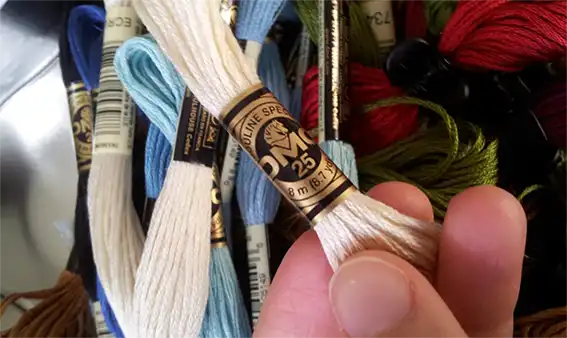
- Embroidery thread or “floss” – there are a few different kinds available. DMC makes most of what you’ll easily find, and their six-strand floss runs about 50 cents for an 8-meter skein. It comes in a huge variety of colours and is a solid choice for starting out
- A thimble – technically you can sew without one, but I really strongly recommend using one. Embroidery takes a long time and will eventually make your needle finger sore. I like leather “quilting” thimbles.
- Small scissors
- Chalk pencils (or a regular pencil, but graphite is hard to remove).
When you choose your fabric, It is recommend starting with a mid-weight linen like the one in the photo. It’s nice to be able to clearly see the weave you’re working on. Cotton is also a good choice. Avoid anything too fine or too thick, and avoid jersey or anything stretchy – embroidery will deform it.
Step 2: Taming Your Thread
- How long should your thread be? The shorter it is, the more easily you will manage it. Of course, embroidery uses a lot of thread and that means you will be running out more often – It is recommend starting shorter (about 12-18″) and then working up from there as you get better at managing thread.
- You don’t have to make any mistakes for your thread to turn into a knotty, tangled mess. That happens by itself, so you must be proactive at all stages of sewing to keep your thread under control.
- That starts when you thread your needle. Thread has a twist direction (it’s either S or Z), and you want to be sewing with the twist, to make your thread less likely to tangle. You can accomplish this by threading your needle off the spool first, and then cutting it. Tie the knot in the spool-side end immediately after you cut it, with the leading end hanging loose through the needle.
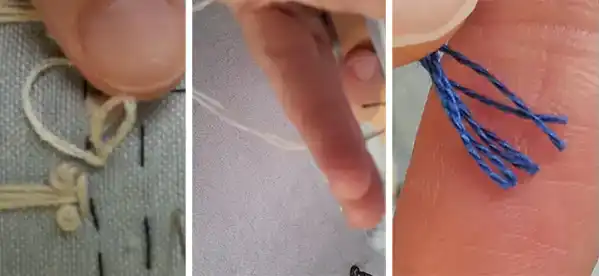
- What if you’re sewing with that DMC six-strand floss that was recommended, that doesn’t come on a spool? I do try to keep track of which end, but it doesn’t make too much of a difference with this stuff. You’re going to split the strands anyway (best to sew with three rather than six), which is most easily done by slowly pulling three strands to the left and three to the right as the length of thread hangs free in the air.
- Use a plain knot to start my sewing, for this thickness of thread, three knots on top of each other is good. Aim to tie the knot close to the end of the thread — about half an inch from it — and stack the knots by catching the thread of the second knot on top of the first one.
- Once you are sewing, you will need to keep an eye on your thread all the time. Pull it through slowly with each stitch, and stop if there is even the slightest bit of resistance. You can easily untangle a spontaneous knot if you catch it before you have tightened it by pulling on it, but once it has tightened, you may have no choice but to cut your thread and start again. When the thread is underneath your hoop, simply rest two of your fingers on it as you pull it, so that it must slide between them before going into the fabric. This will prevent most knots. Again, if you detect resistance, stop and investigate.
Why does this matter?
Apart from the fact that knotty thread wastes length and thus reduces what you can do with each length of thread while increasing the time it takes to accomplish your work, knotty thread does not make for sound stitching. If the knot pulls through, it is unsightly and also loosens the work, making everything look bad.
Step 3: Backstitch

The backstitch is a workhorse. It’s the stitch that was used to sew clothing before we had sewing machines (and still is, if you’re doing it by hand). Flexible, strong, with a little built-in stretch, it can follow just about any line, and if you take the time to do it carefully, it’s perfectly attractive, too.
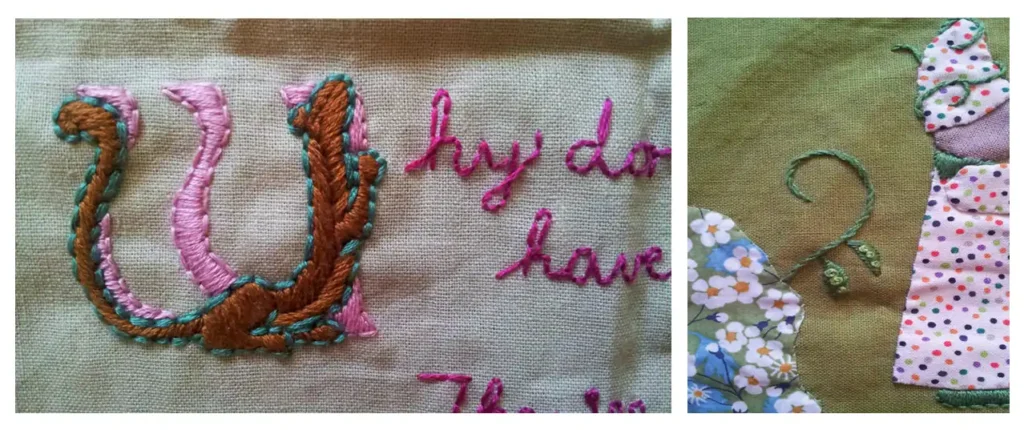
In this example, it is using to make the squared key design inside the fence, but it is also used it in this piece for the outlines of the animals. It’s a good choice for lettering, as well, particularly block lettering.
The backstitch is so called because, on the top of the fabric, you are placing the needle against the direction of stitching. Begin one stitch-length from the start of your line, and make one backwards stitch to the starting point.
Then bring the needle back through to the top one stitch-length further from the end of the first stitch, and make a second backwards stitch to the end of the first stitch.
Each stitch essentially forms a loop that, on the underside of the fabric, is twice as long as the stitch on top, kind of like a letter P. This looping is what gives backstitch its ability to stretch.
The stitch tends to look a bit messy underneath, especially if you use it for curves. That’s okay.
Step 4: Stem Stitch
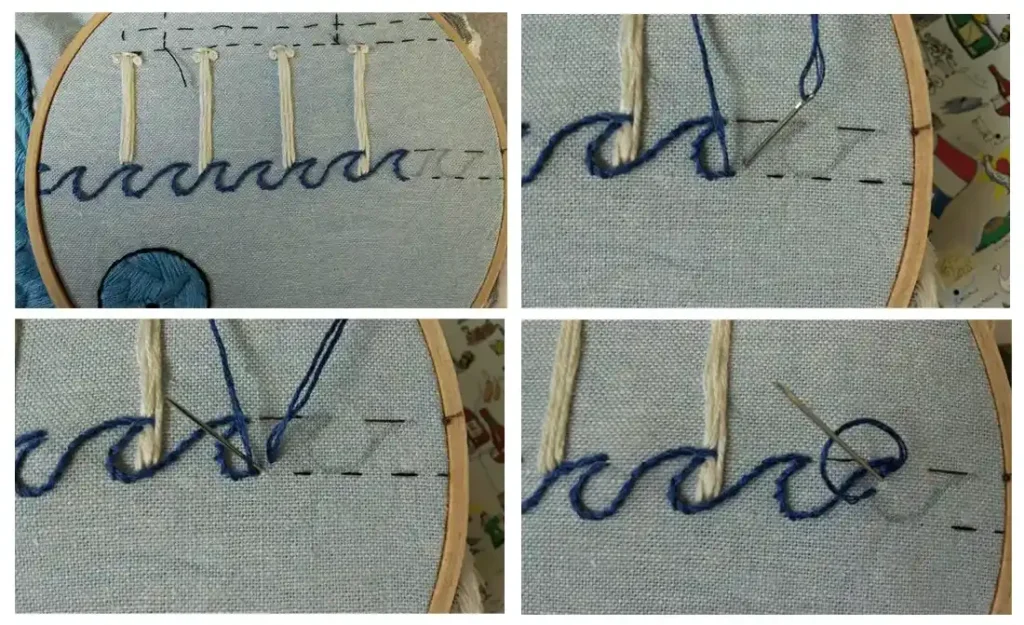
Stem stitch is basically the other side of backstitch, but done in such a way as to make it very pretty.
It’s important to keep your thread on the same side of the needle as you stitch with this one. That’s what gives the stitch its signature spiral look. On top of the fabric, each stitch overlaps by 50% the one preceding and following it; underneath, the stitches don’t overlap. The key to making this stitch look good is keeping the stitch length constant and short (so that your spiral looks tight and even), and beginning each stitch so that it lies underneath the preceding stitch (so that you don’t have any extrusions breaking your line). Mary Corbet has a very nice close-up video of the stem stitch here.
Stem stitch can accommodate curves but, as you can see with my waves, it is better on curves going one way than the other depending which side of the needle you’re keeping the thread, and you can’t switch between sides while stitching without breaking the spiral. Don’t mind the way the stitch pulls a little on the bottoms of the waves, but that is what it looks like when you hit the limit of how much stem stitch can accommodate a curve like that. At a sharp point, break the stitch line and begin a new one.
Step 5: Satin Stitch
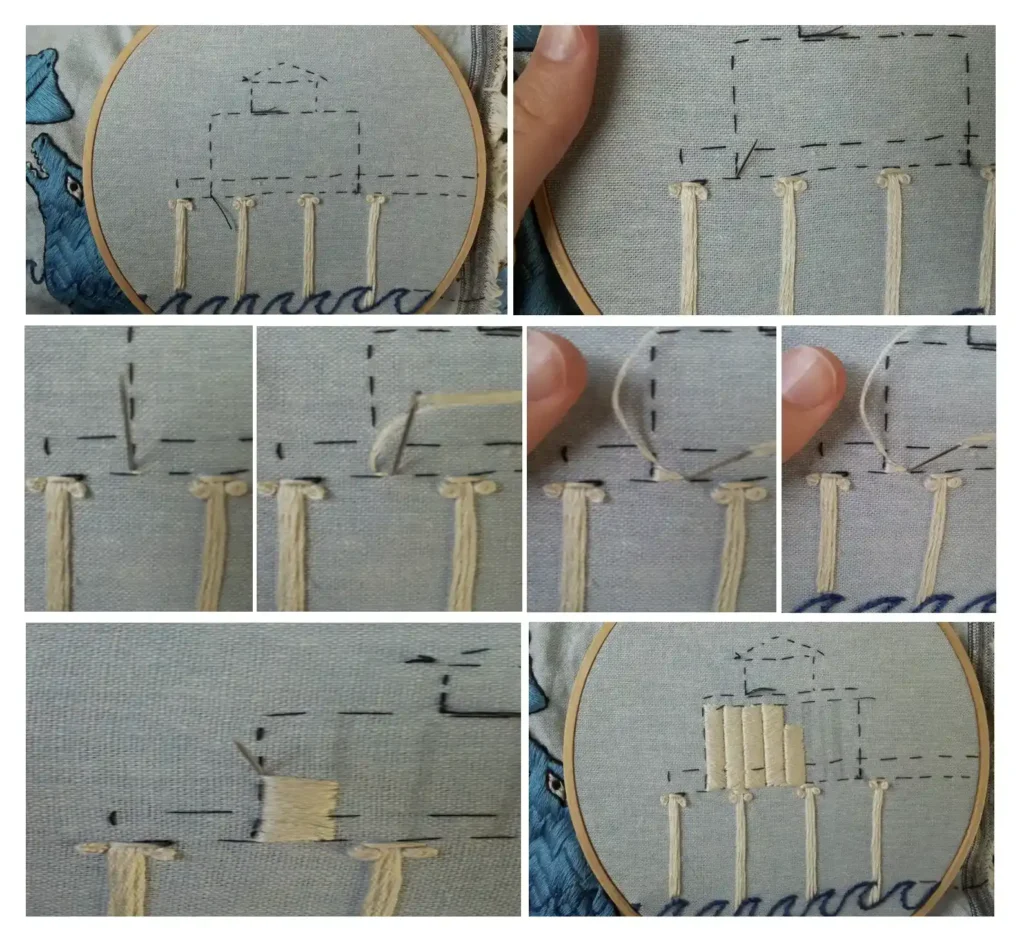
Satin stitch i, the quintessential embroidery stitch. It is the most time-consuming (and thread-consuming), requires the most precision to pull off well, and looks the most luxurious.
Satin stitch is simply filling in an area of fabric with thread by laying one stitch down immediately next to another. This is where having a nice medium weave in your fabric comes in handy. In this example, by filling in the building on the pier with satin stitch, since it’s a wooden structure, stitches can look like straight boards, so have to follow the threads in the fabric when you make each stitch.
In order to make your satin stitch look good, a little organization is required. It is not recommended to vary your stitch lengths so that you have jagged edges to the stitch areas; it looks shabby. Smooth edges look neater. You want to plan ahead how you’re going to fill in a region so that you can divide it into manageable stitch areas, and the larger the region, the more difficult this gets. You can see on my sea lion that my planning was deficient, and the stitch areas are kind of all over the place. the stitch areas can be wavy, because the straight edge lines would look odd on an animal and to repeat the water theme, but didn’t really take the overall shape into account and the wavy areas seem to change direction, which was not wanted. On the stingray, however, the plan came through and the results are excellent. Of course, the stingray is much smaller, so it was an easier area to plan for.
Step 6: Combine
Embroidery is meditative and satisfying.